
 Well well well, here we are again.
This time we started by going through the 3D drawings for the X & Y carriages that needed machining out of aluminium. DanW was kindly on the case with this, so with any luck we might be able to have our 3D printer completely constructed by next week.
 I also adding this printer back on our network, it’s on 192.168.1.10 or 192.168.1.18 (I’ll have to double check). It’s a Dell Laser 5100 Colour Network Printer. So we used this to print off the carriage models for DanW.
You can use it too.
 DanW also very kindly supplied us with some shortbread which he brought down, which were excellent. But then I’ve yet to find a bad shortbread so I’m probably a bit bias.
It goes without saying they went down very well, especially with a new brew (Thanks Si!).
 Here’s the current MakerBot setup. As you can see we’ve got ReplicatorG installed on the Linux based laptop and updated the Sailfish firmware on the 3D printer motherboard. Not far off now, I think we’re just having problems with it moving 10mm rather than 1mm. Bugs in the software.
 Here’s our new champion who came down with his bluetooth controlled robot. I believe there was some kind of bug, but with a bit of group help I believe the issue was narrowed down, so hopefully we’ll see it in action next time. Perhaps we can have races with the Roomba!
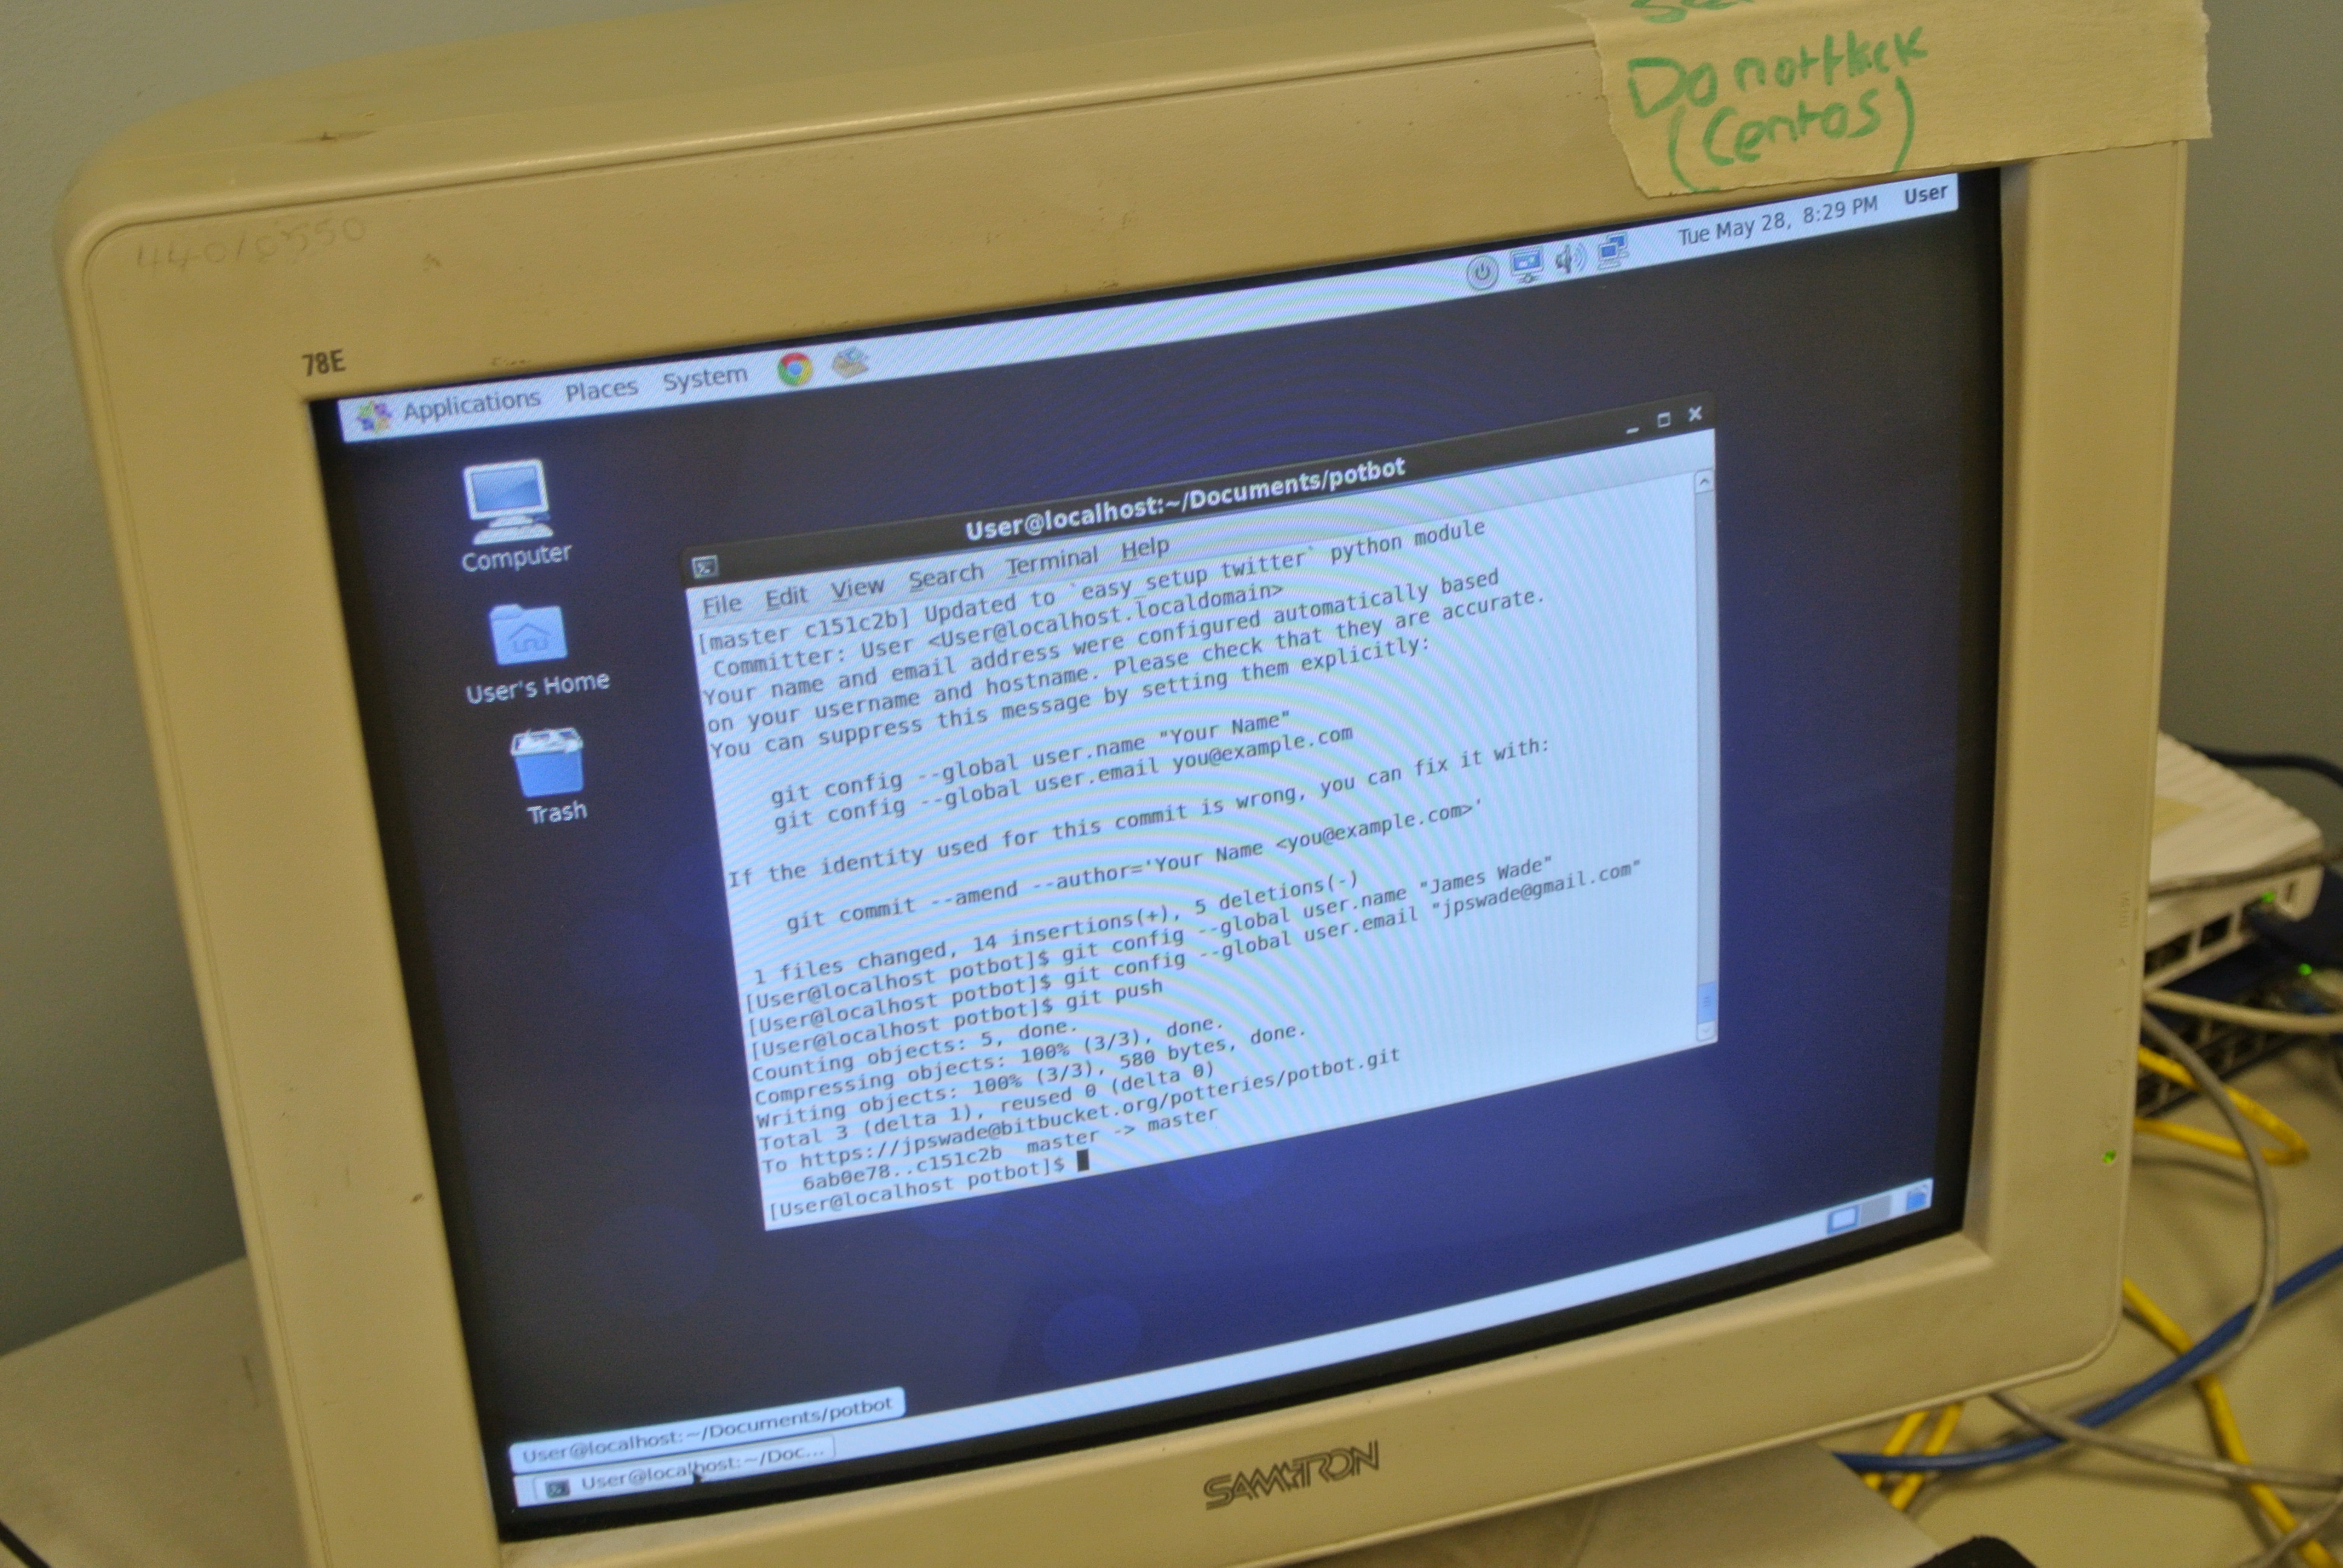 I was determined this time to get the “potbot” broadcasting script I’d written up and running on our CentOS server. Once I’d downloaded the potbot git repo from bitbucket and installed the Python dependencies we were pretty much all up and running. The next step is to monitor the network for my phone and then broadcast then.
 Everyone’s getting stuck in as normal. It’s good to see people getting stuff done. Look at the concentration on everyone’s face. Doesn’t it just make you want to get stuck in?
Maybe I should stop taking so many photos… Naaa.
 Here’s the makerbot plugged in and moving, but still having problems with distances.
I’ll be sure to have another look at it, I’m hoping it’s something simple that may have been overlooked.
Fingers crossed!
 Ah, this is the circuit board that Si was getting stuck in with. I had no idea what he was doing, but apparently he was looking for a particular component to get the bluetooth working on the robot. I’m glad Si knows what he’s doing. At first glance I had written it off as a software problem.
I love it when a plan comes together.

Charlotte very kindly put this donations pot together on the brew table.
Although we do ask for donations on a monthly basis, we also appreciate any loose change you may have.
 This all looks very technical…
Check out the hardware, a multimeter and an oscilloscope. Apparently it wasn’t a software problem…
I’m expecting this thing to be moving next time!
Hopefully…
 Well, I did stop taking photos and by the end of the night I’d setup the RaspberryPi, installed rasbian OS and connected this touch screen monitor to a RaspberryPi.
All that remains now is to install Printrun and we’re ready to print to the RAMPS directly from the RaspberryPi using a touch screen  interface.
This 7″ TFT Wide Screen LCD Colour Monitor (Pixelon SP-7 VGA/TouchScreen) that was originally planned for a car PC in it’s hay day is now primed for printing a 3D model directly to our 3D printer. Perfect.
 A bit like our roomba project, this thing won’t yet operate without cables, but hopefully next time it’ll be all change and we’ll have a video to show what it does.
Excellent!
Although, I’m still not sure what the ultimate goal is…
 What’s this? Technical diagrams? Proof that we do actually do some clever stuff now and again…
Anyway, don’t be shy, come down and check us out, see the action for yourself or get involved.
Until next time, enjoy.
